Foam whipper - whip up shaving foam correctly
· Updated: · 4 min read
Hand-lathered shaving foam is as much a part of the service in our salons as a fish sandwich is to Hamburg: you can get by without it, but then it’s simply not the real thing. I keep hearing that men opt for ready-made products from a can or special gels because they’re daunted by the idea of lathering up the soap. But with a bit of practice and the right technique, it’s actually quite simple!
Although I must admit: when I joined Eric:Barbier at the start of the millennium, we also used the spray can version. That soon came to an end after our trip to London, however – we were immediately impressed and wanted to whip up the shaving foam properly too. Years later, during a visit to a salon in New York, I realised just what a mark of quality it is: whilst the ready-made product is quicker, it can never match the properties and – crucially for our work – the flair of traditional craftsmanship.
Protective layer 2.0
I’m constantly asked why we need the foam at all, given that mechanical razors work just fine without it. The answer lies on the skin: After preparation – ideally consisting of a warm compress or, at home, a shower and a pre-treatment with beard oil – the foam forms an additional protective layer on the skin, ensuring that the beard hairs become even softer and easier to shave. This means less force is required, the epidermis is not subjected to as much strain, and irritation and rashes are less likely.
First cream
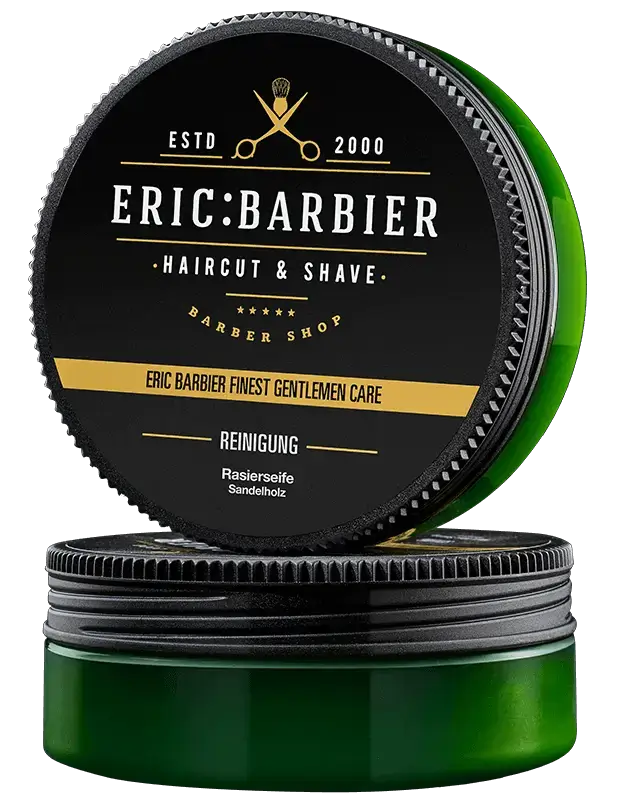
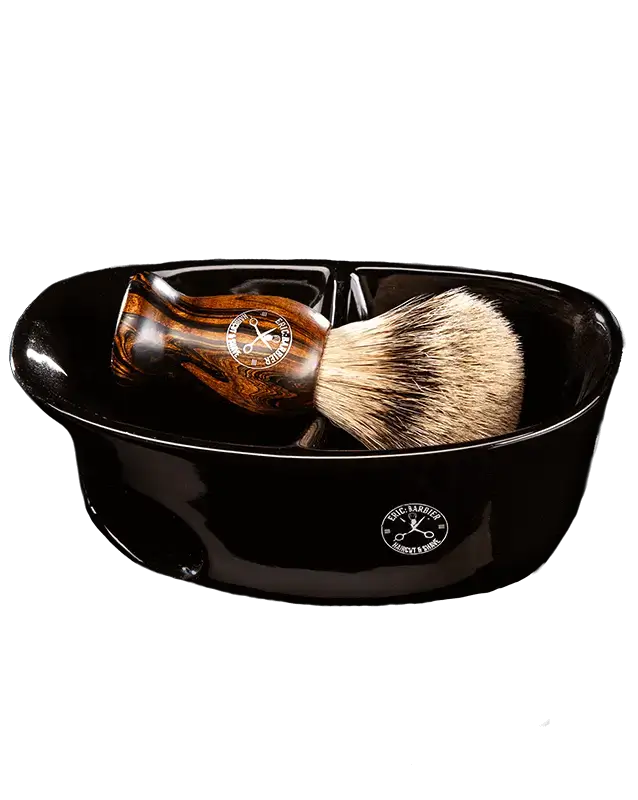
Enough theory, let’s get to work: for the shave, we need a lovely creamy lather, reminiscent of whipped cream in consistency. How much shaving soap you should use depends entirely on your goal – if you need to remove a full beard, I’d put about ten grams into a bowl; if you’re just touching up the contours, a third of that amount will suffice.
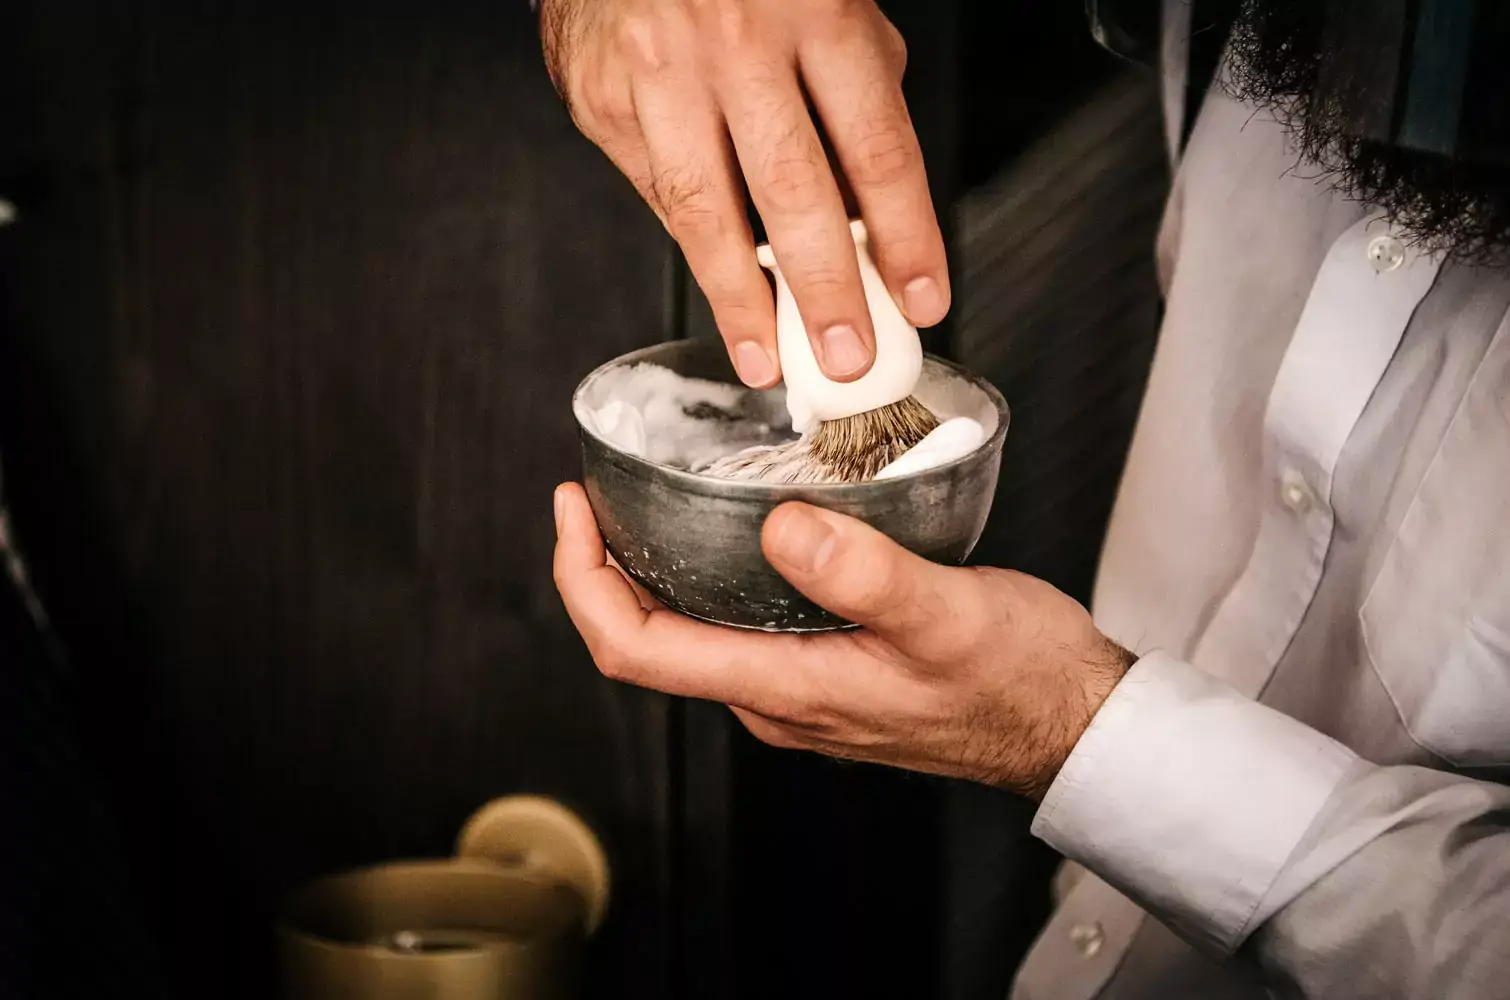
To get the dry soap into the desired state, you’ll naturally need to add some liquid. To do this, dip the shaving brush into hot water so that the bristles become slightly damp. Note: The soap mustn’t be too wet, otherwise the lather will be too thin. Therefore, shake the excess water out of the brush with a vigorous motion over the sink before you start whipping up the lather.
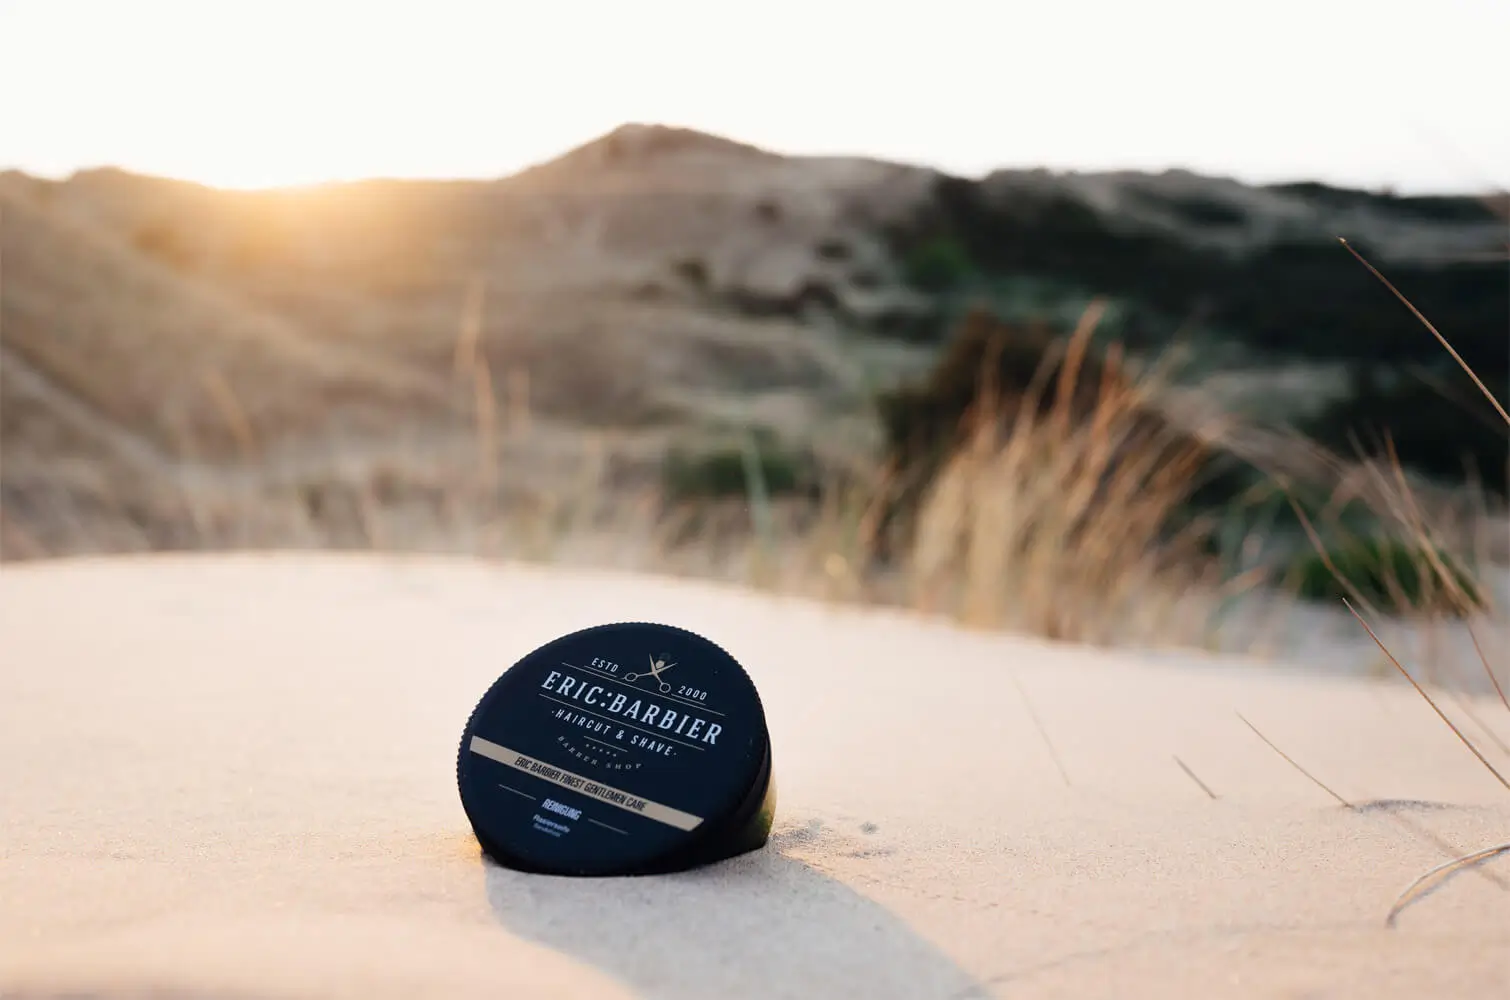
Lathering up the shaving foam properly
Now the real work begins; this requires a bit of practice and patience. Move the shaving brush in circular motions over the soap until the lather forms. Beginners often apply too much force here – yet the result is much creamier if you start with moderate pressure. Once you’ve got the hang of it, it starts to foam after just a few seconds. If the contents of the pot are too runny or too thick, you can simply add a little water or shaving soap and repeat the process.
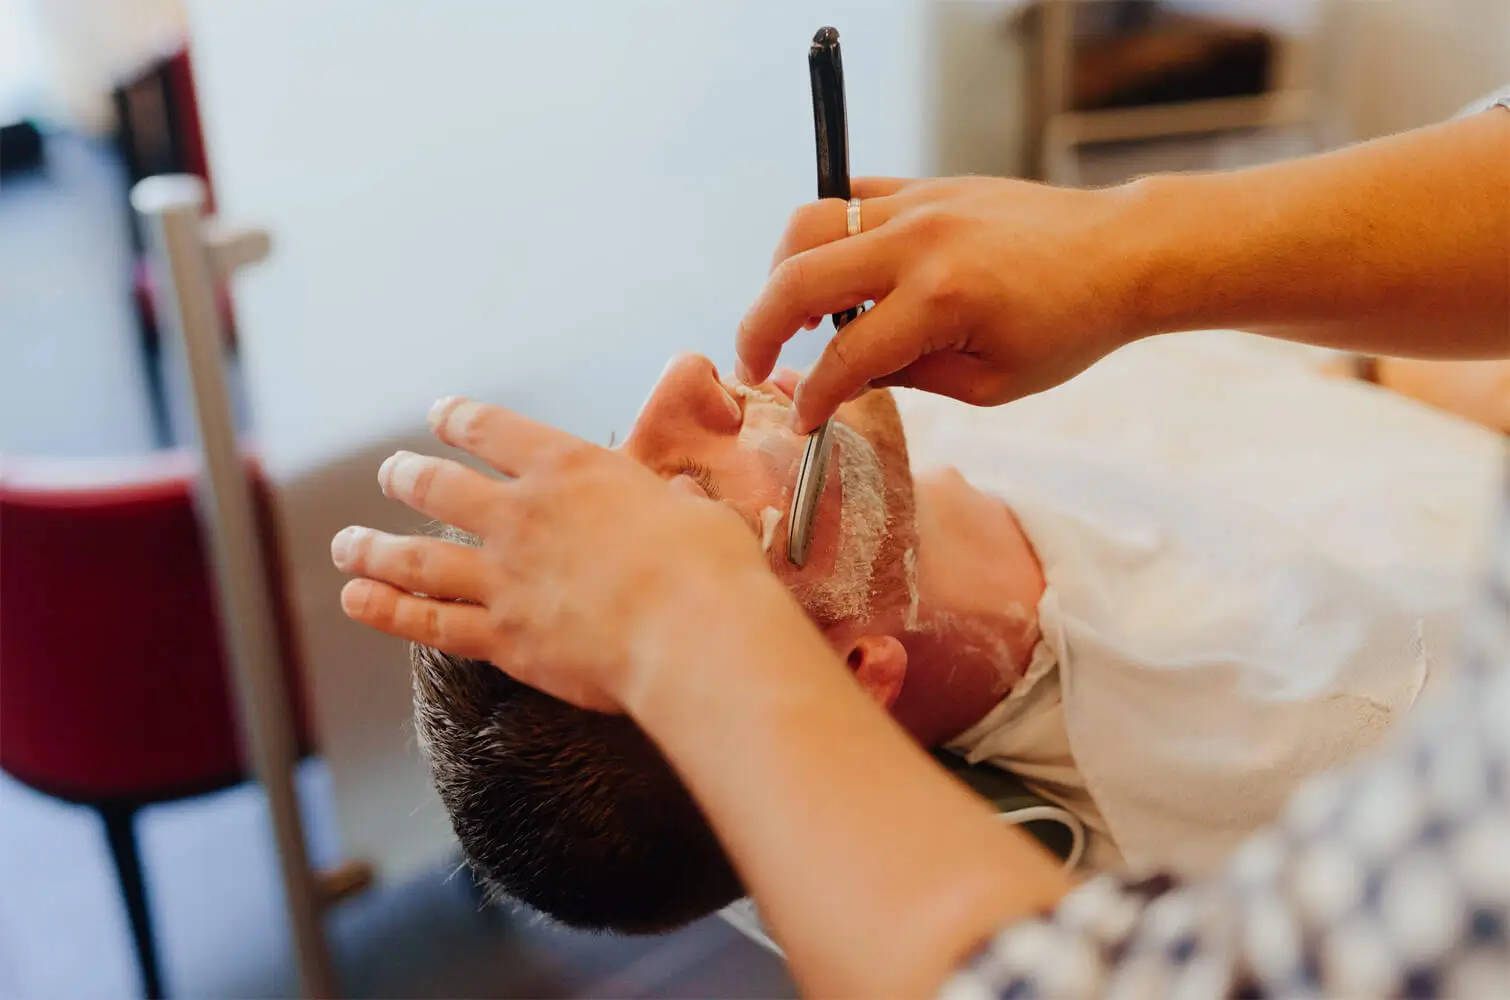
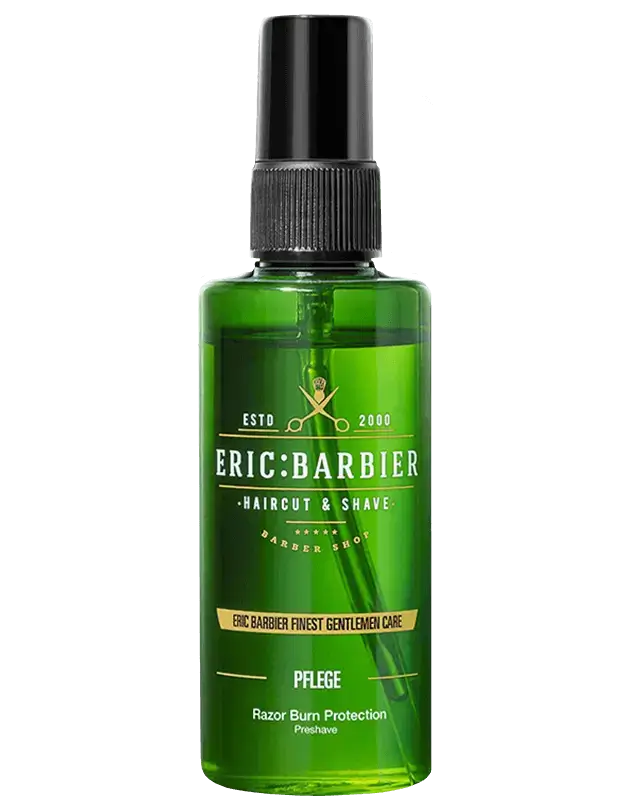
Next, apply the lather to the areas to be shaved – for example, using a traditional razor to perfectly round off the classic shave. Then wash your face with cold water and pat dry with a clean towel to remove any remaining lather and close the pores opened by the heat. Finally, soothe and nourish the irritated skin with an aftershave to protect it from irritation such as razor burn.
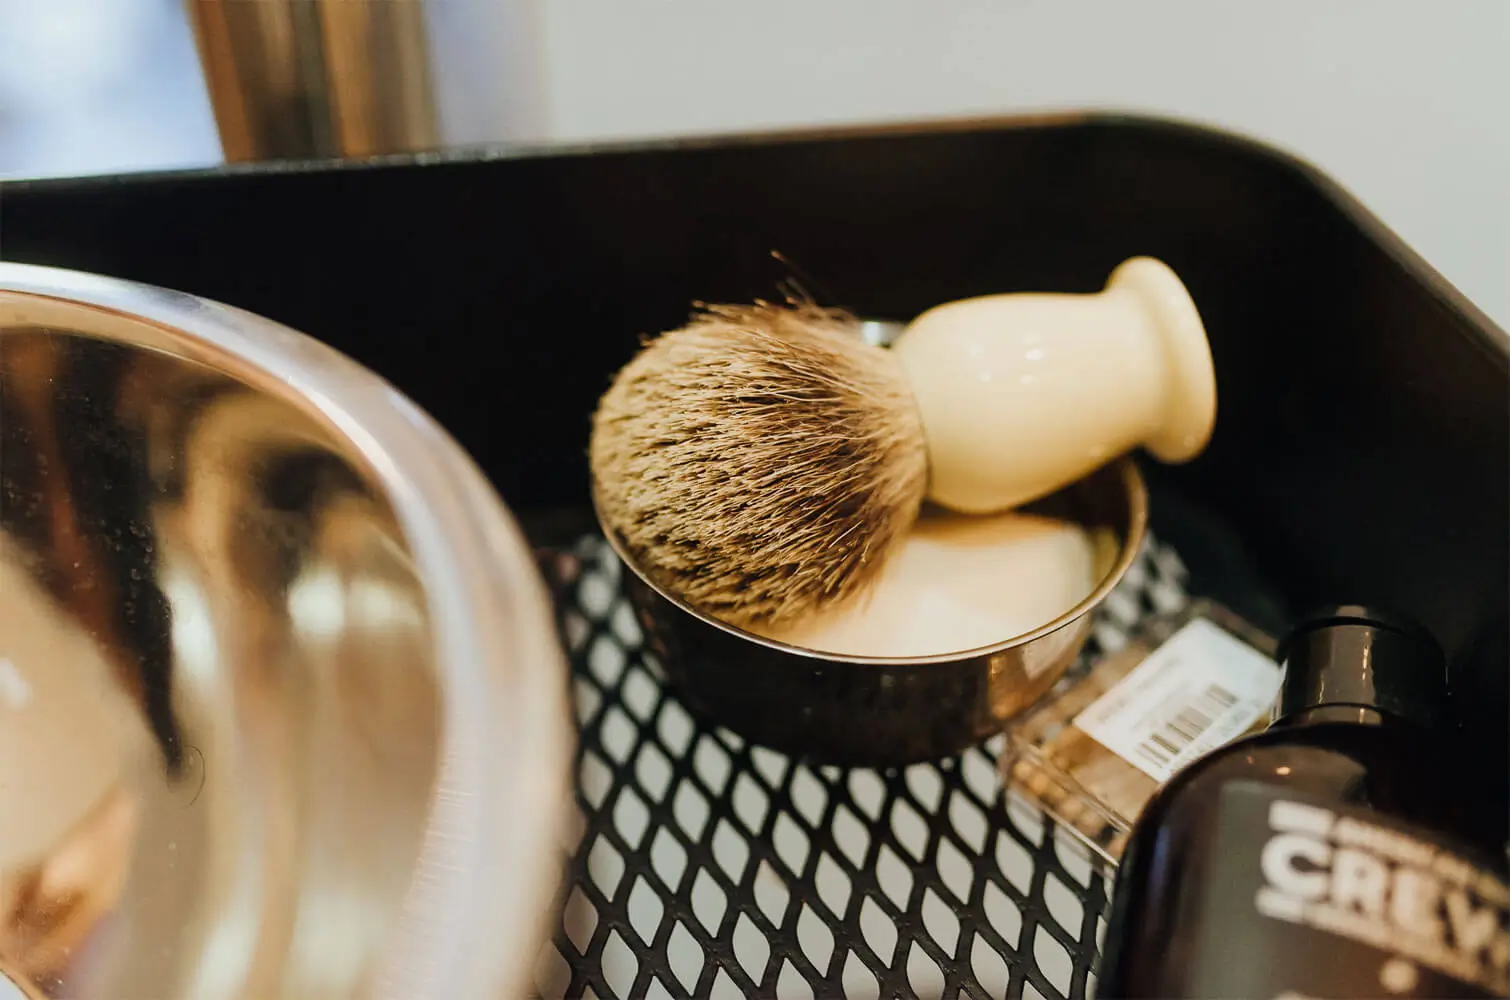
Silver is gold
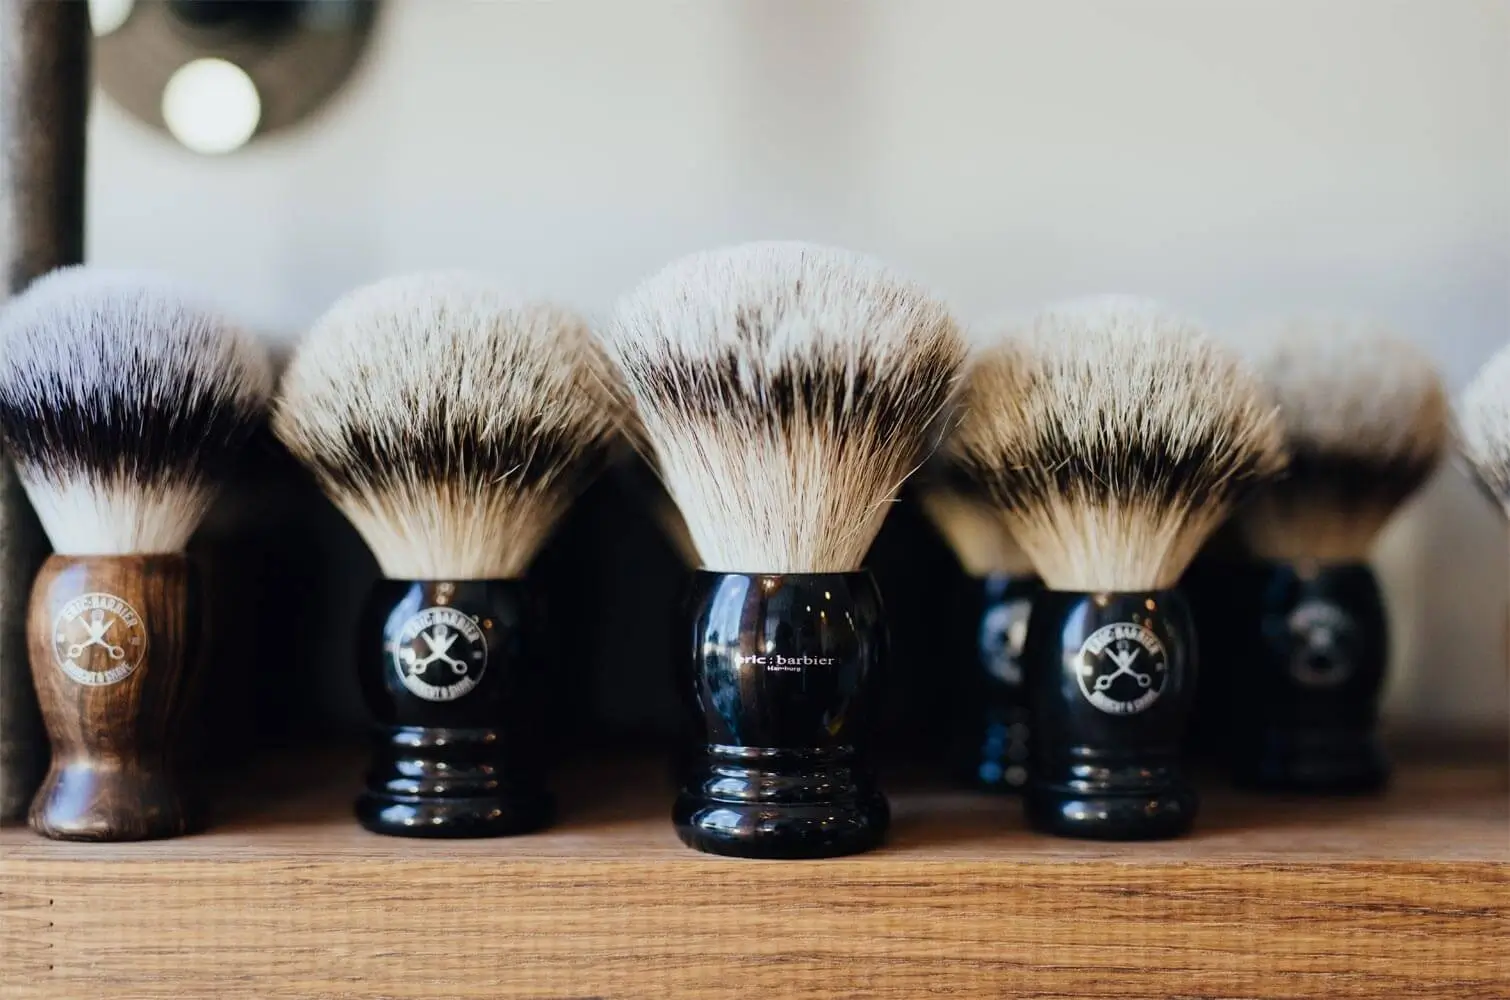
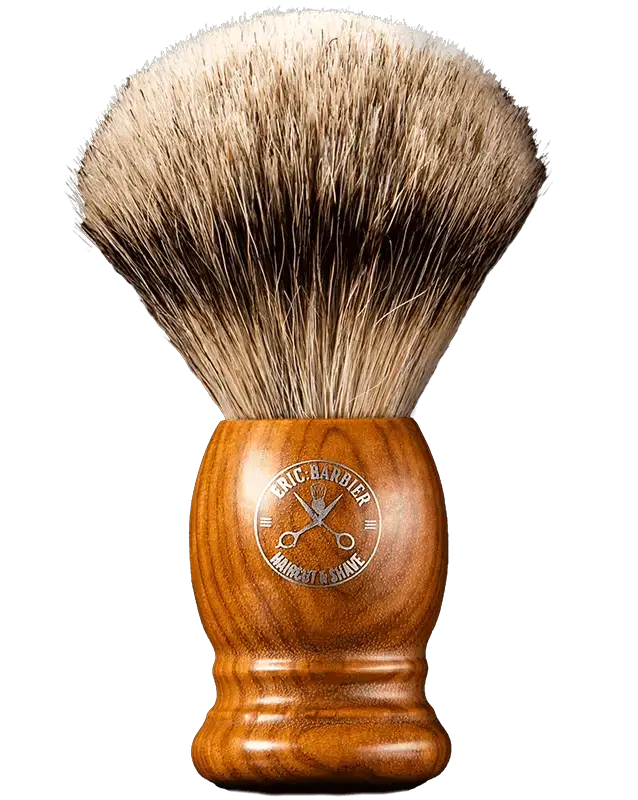
Even when using a good shaving soap, it can sometimes feel like a curse and the lather simply refuses to become creamy. When customers tell me about such an experience, the problem often lies in the inferior quality of the shaving brushes, or more precisely: the bristles. In our salons, we therefore rely on Silberspitz shaving brushes made from extra-fine badger hair, the highest quality grade. After use, the brush should be rinsed with warm water to prevent soap residue from building up. It is also important, particularly with wooden handles, that they are left to dry in a well-ventilated place.
Would you like to find out more about how to lather shaving cream properly? Feel free to pop in and I’ll show you my tips and tricks.
Yours, Anthony
What you need for this
Personal advice at the barbershop
Our barbers in Hamburg are happy to advise you personally – whether it's beard care, shaving or the right styling.